| Title | Description | Classes | ||
|---|---|---|---|---|
| 51 |
 |
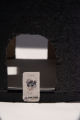
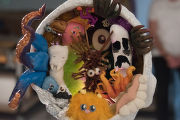
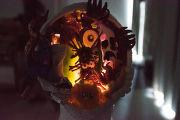
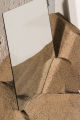
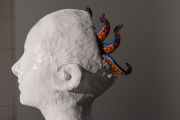
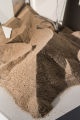
Sculpture I Critique | artwork by Scott Beadles | |
| 52 |
 |
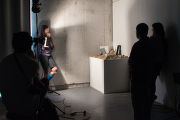
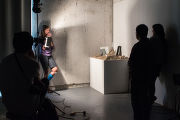
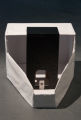
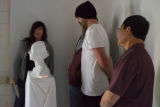
Sculpture I Critique | artwork by Tuoc Lam | |
| 53 |
 |
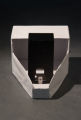
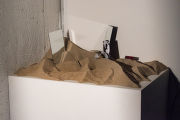
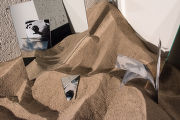
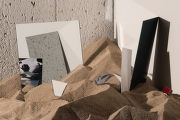
Sculpture I Critique | artwork by Tuoc Lam | |
| 54 |
 |
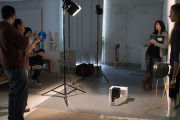
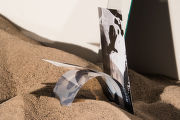
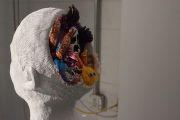
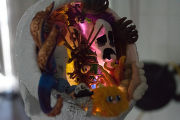
Sculpture I Critique | artwork by Scott Beadles | |
| 55 |
 |
Sculpture I Critique | artwork by Tuoc Lam | |
| 56 |
 |
Sculpture I Critique | artwork by Scott Beadles | |
| 57 |
 |
Sculpture I Critique | artwork by Tuoc Lam | |
| 58 |
 |
Sculpture I Critique | artwork by Tuoc Lam | |
| 59 |
 |
Sculpture I Critique | artwork by Darby DeHart | |
| 60 |
 |
Sculpture I Critique | artwork by Scott Beadles | |
| 61 |
 |
Sculpture I Critique | artwork by Scott Beadles | |
| 62 |
 |
Sculpture I Critique | artwork by Darby DeHart | |
| 63 |
 |
Sculpture I Critique | artwork by Scott Beadles | |
| 64 |
 |
Sculpture I Critique | artwork by Darby DeHart | |
| 65 |
 |
Sculpture I Critique | artwork by Tuoc Lam | |
| 66 |
 |
Sculpture I Critique | artwork by Scott Beadles | |
| 67 |
 |
Sculpture I Critique | artwork by Darby DeHart | |
| 68 |
 |
Sculpture I Critique | artwork by Darby DeHart | |
| 69 |
 |
Sculpture I Critique | artwork by Tuoc Lam | |
| 70 |
 |
Sculpture I Critique | artwork by Scott Beadles | |
| 71 |
 |
Sculpture I Critique | artwork by Darby DeHart | |
| 72 |
 |
Sculpture I Critique | artwork by Scott Beadles | |
| 73 |
 |
Sculpture I Critique | artwork by Darby DeHart | |
| 74 |
 |
Sculpture I Critique | artwork by Darby DeHart | |
| 75 |
 |
Sculpture I Critique | artwork by Scott Beadles |