Curriculum-based images for use in teaching, research, and learning.
| Title | Date | Type | ||
|---|---|---|---|---|
| 1 |
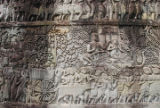 |
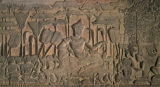
Angkor Thom, Bayon, relief: Battle Scene | Image | |
| 2 |
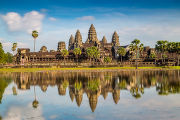 |
Angkor Wat | Image | |
| 3 |
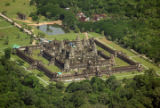 |
Angkor Wat, aerial view | Image | |
| 4 |
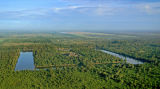 |
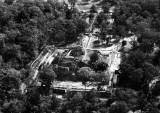
Angkor Wat, aerial view of site and surrounding countryside | Image | |
| 5 |
 |
Angkor Wat, relief: King Suryavarman II Holds Court | Image | |
| 6 |
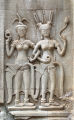 |
Angkor Wat: Apsaras Relief | Image | |
| 7 |
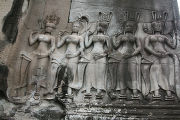 |
Angkor Wat: Apsaras Relief | Image | |
| 8 |
 |
Baphuon, aerial view | Image | |
| 9 |
 |
Baphuon, central tower | Image | |
| 10 |
 |
Baphuon, exterior view 1 | Image | |
| 11 |
 |
Baphuon, exterior view 2 | Image | |
| 12 |
 |
Baphuon, exterior view 3 | Image | |
| 13 |
 |
Baphuon, exterior view 4 | Image | |
| 14 |
 |
Baphuon, wall relief | Image | |
| 15 |
 |
Baphuon, wall relief | Image | |
| 16 |
 |
Baphuon, wall relief | Image | |
| 17 |
 |
Baphuon, wall relief | Image | |
| 18 |
 |
Baphuon, wall relief detail | Image | |
| 19 |
 |
Baphuon, wall relief detail | Image | |
| 20 |
 |
Bowl | Image | |
| 21 |
 |
Buddha / Jayavarman VII | Image | |
| 22 |
 |
Ceremonial Offering Plate | Image | |
| 23 |
 |
Preah Vihear: Aerial View of the Enclosure of the 4th Level including the Central Sanctuary seen from the Southwest | Image | |
| 24 |
 |
Preah Vihear: Carving Details | Image | |
| 25 |
 |
Preah Vihear: Causeway | Image |